Here's the holster after being stitched along the long edge. The last and final sewing.
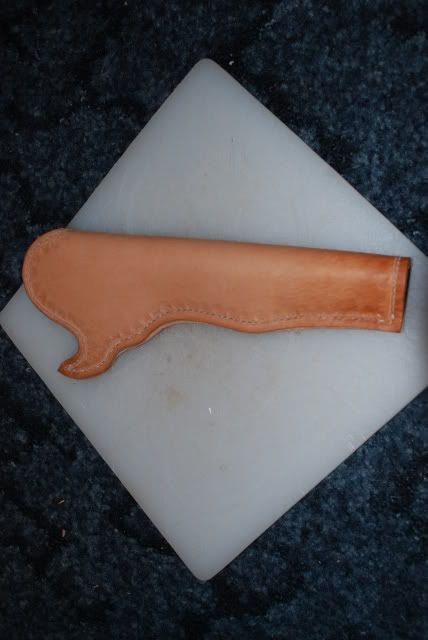
Close up view.
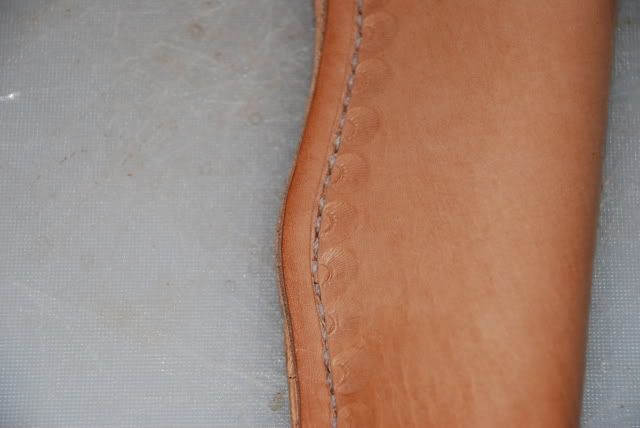
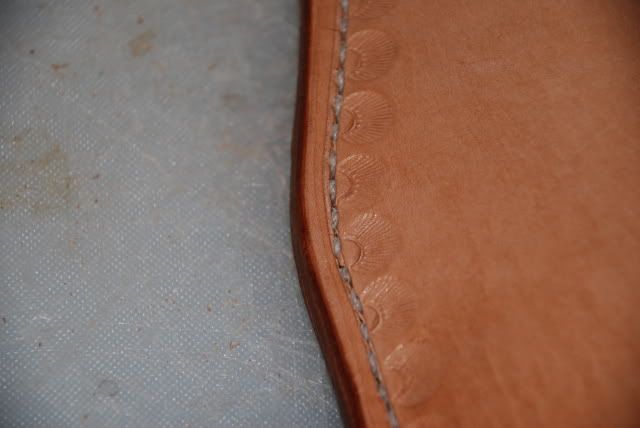
I then took the lineolium knife and cut a straight line along the outer edge being careful not to go to far towards the stitching. I then slicked the edge. A shot showing the edge slicked.
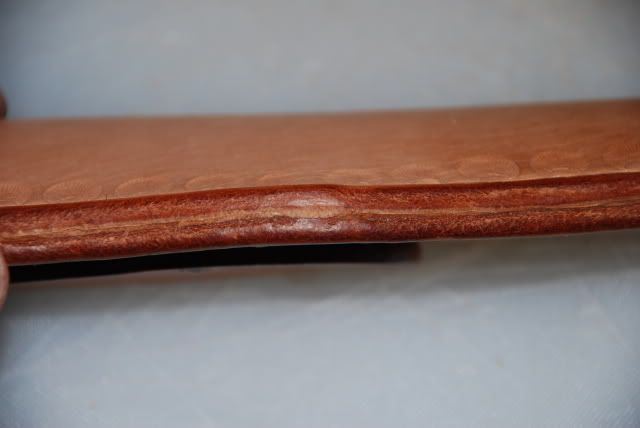
Edge view of same slicked outer edge.
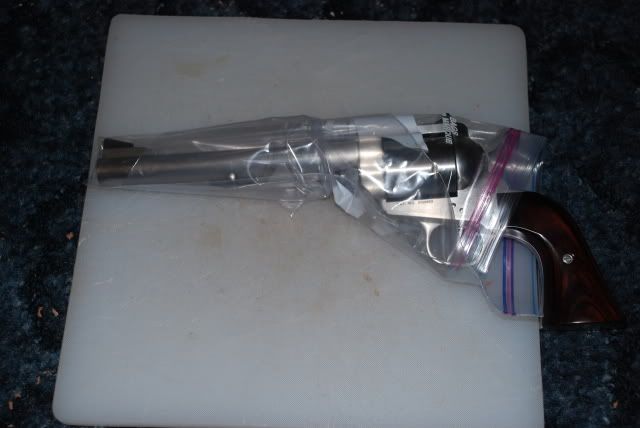
I had a feeling the holster was going to be a little tight, so I wrapped the FA in a one gallon ziplock to place inside the wet holster for molding.
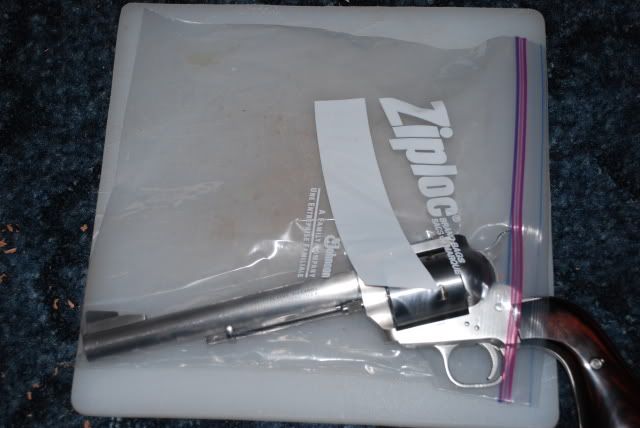
Another picture of how I just wrap the excess around the revolver.
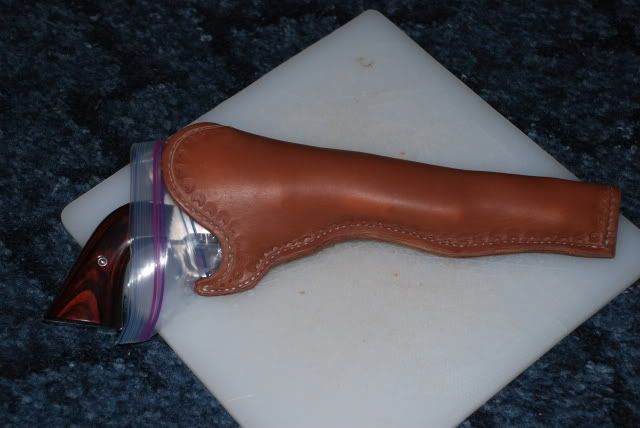
I case the now pretty much finished holster again in hot water till it's good and saturated. Then, shove the baggie wrapped piece into the holster. I kind of do a little molding with the leather now because when it dries it's going to hard to move around. I then place it over a forced air outlet of the house and let it dry. I do come back a short time later and flair the upper ears of the holster for easier holstering later.
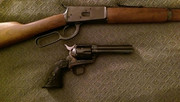
Here's a picture of the revolver in the holster with the baggie on it.
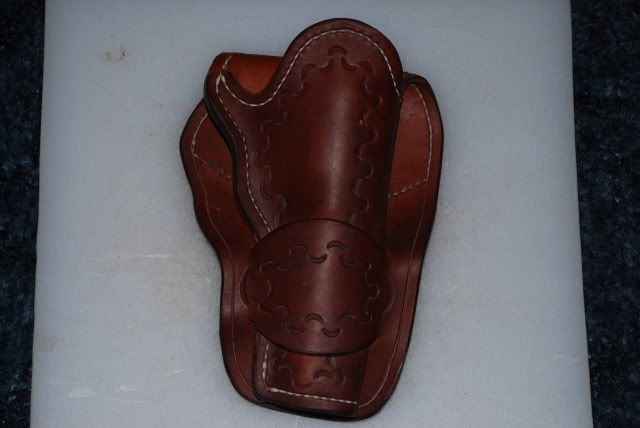
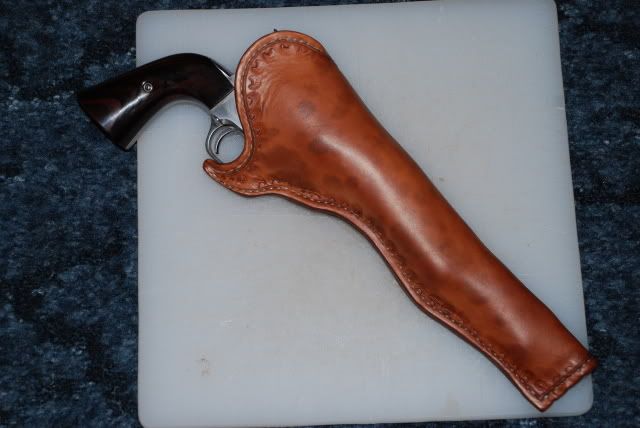
And, voila, here's the finished piece after it's dried and a leather cream, Skidmore's in this case, applied.
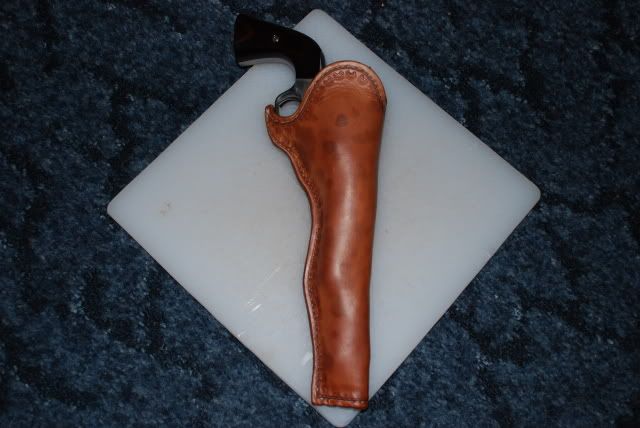
A closer shot.
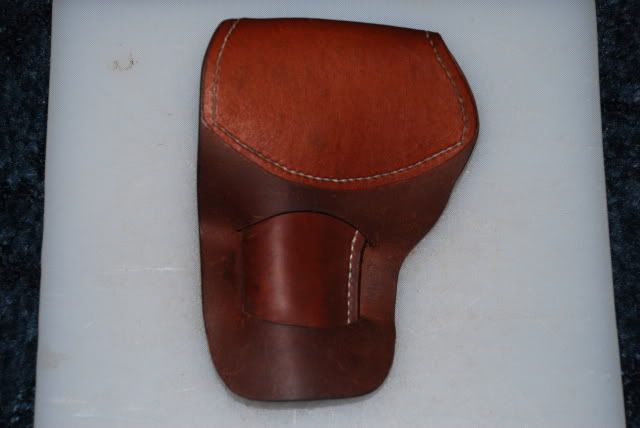
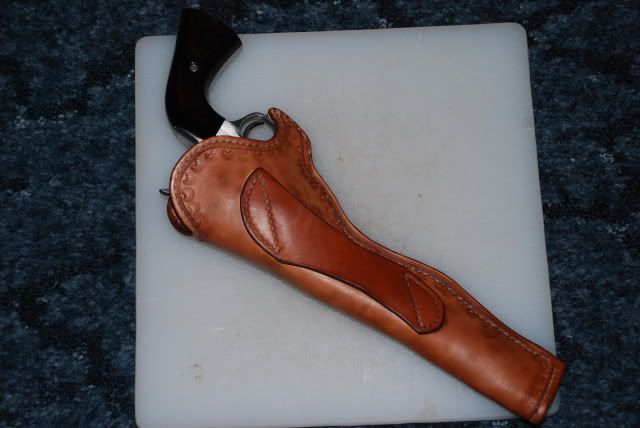
Backside.
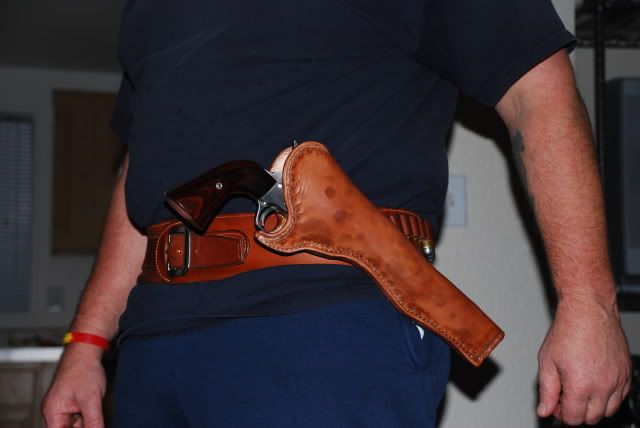
And finally on the money belt I'll use to carry it with. You can see the rather drastic angle I designed into it. I ride horses and want to carry it will riding. Don't mind the belly or attire. I'm at home on days off.
Finally, the end of of the tutorial. I hope you guys enjoyed it. I took some shortcuts trying to get it done within internet time. Plus, I did it on the floor of my livingroom. This is a one hundred percent handmade holster. Anyone can do it with simple tools. This is the first holster I've made for the FA and there's a couple of places I'd give a little extra room. I normally use a saddle oil for finishing, but like everything else, I can't find it in the loads of stuff we have stored. I used a finishing cream and it came out a little mottled. Like it's antiqued. I actually like it. But wouldn't suggest it for a uniform coloring. I've gotta get my shop built so I can use my tools. I'd like to give my wife, Donn, credit for some of the pictures. Now, it's time to enjoy football.