I figured I would do it and share my experience and pictures for others that may want to tackle this job!
I practiced on my Puma 92 first, the little brother of the 1886 so I could get 100% familiar with the workings of the 92 action, it is similar and much simpler than the 1886, plus there is plenty of how too’s on the web for guidance. The nice thing about practicing is the slick action my 92 has now.
Great information on the 92 can be found at Marauders web site and I thank all that contributed to the information found there.
http://marauder.homestead.com/Rifles.html
This checklist was partially used on both the 92 and 1886.
http://marauder.homestead.com/files/Rossitune.htm
Here is the Puma 92 in .357 that so graciously donated itself to the cause.
Well lets get started!
By the way, MAKE SURE THE GUN IS UNLOADED.
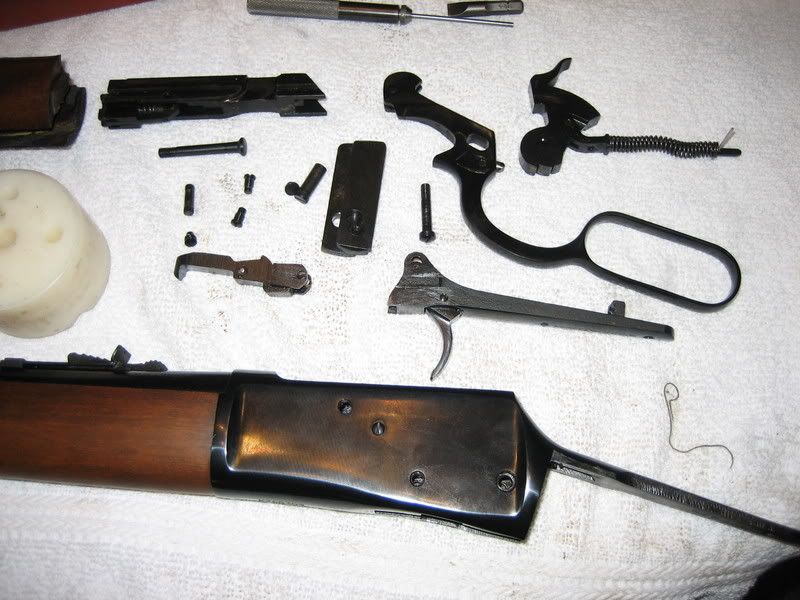
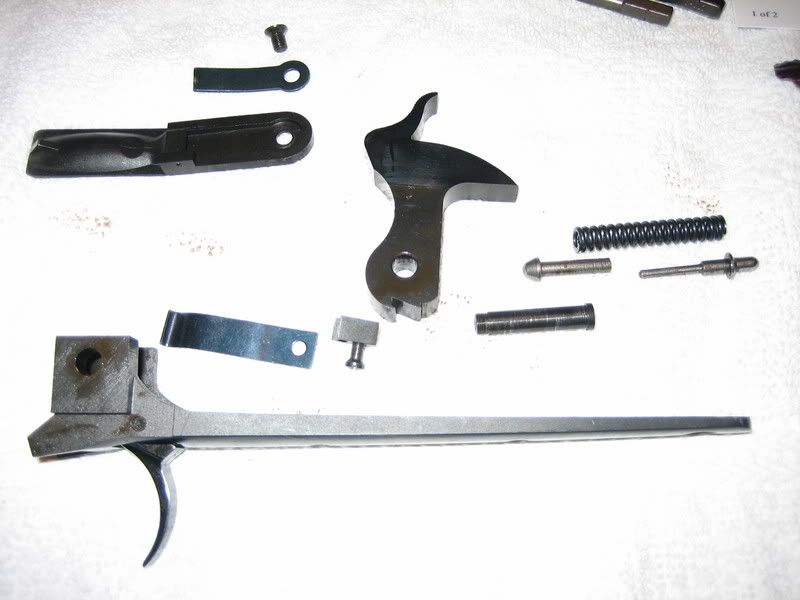
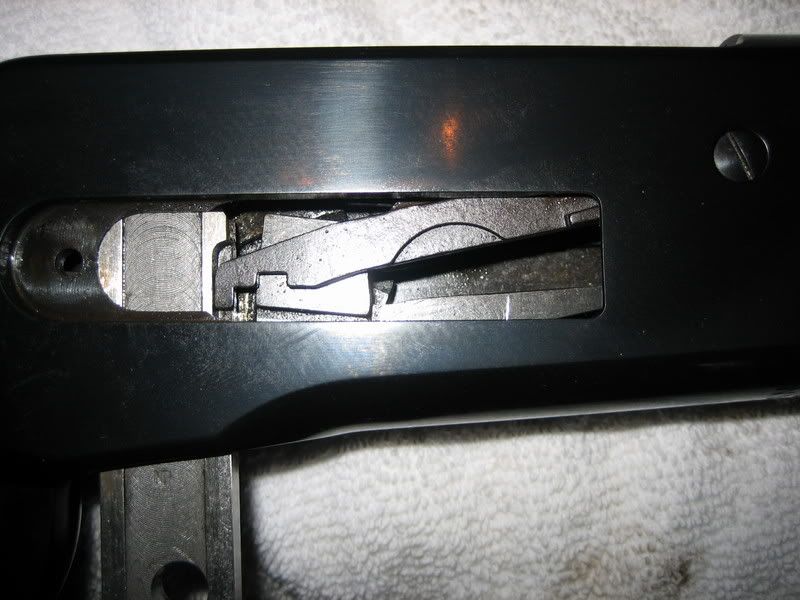
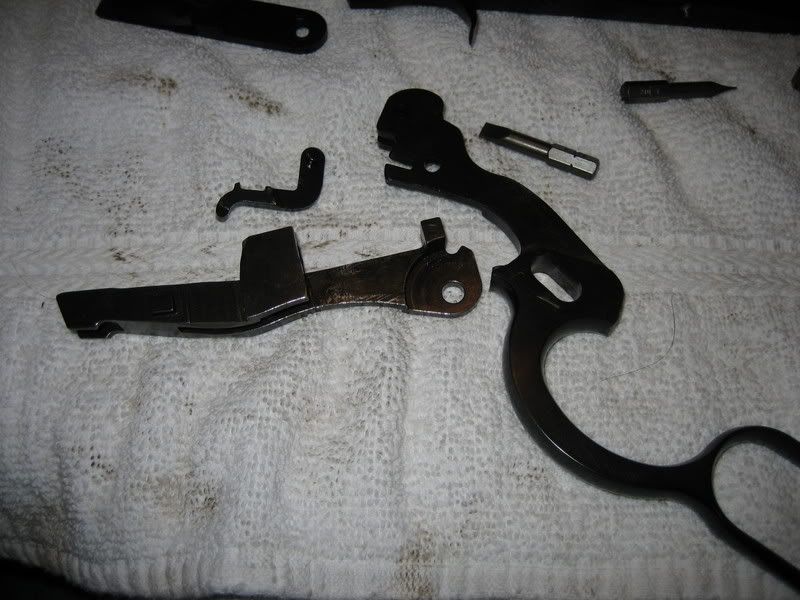
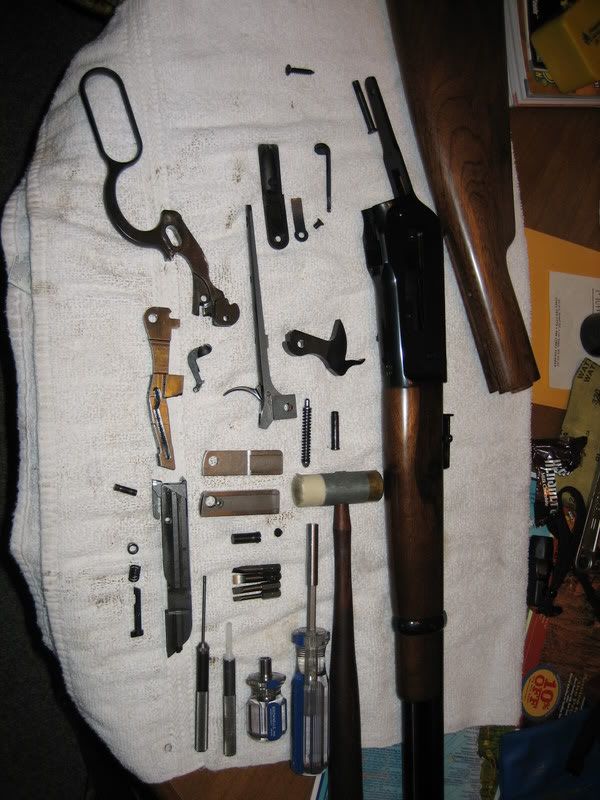
Study the diagram and get familiar with the workings. I will be referring to the part numbers when needed.
Remove the butt stock by removing the upper and lower tang screws, then slide the stock off to the rear.
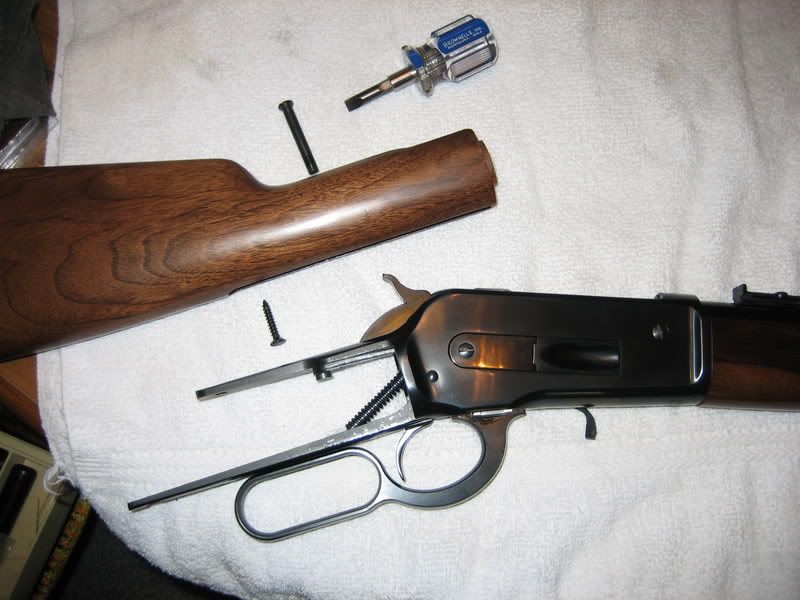
Remove the loading gate spring cover and screw.

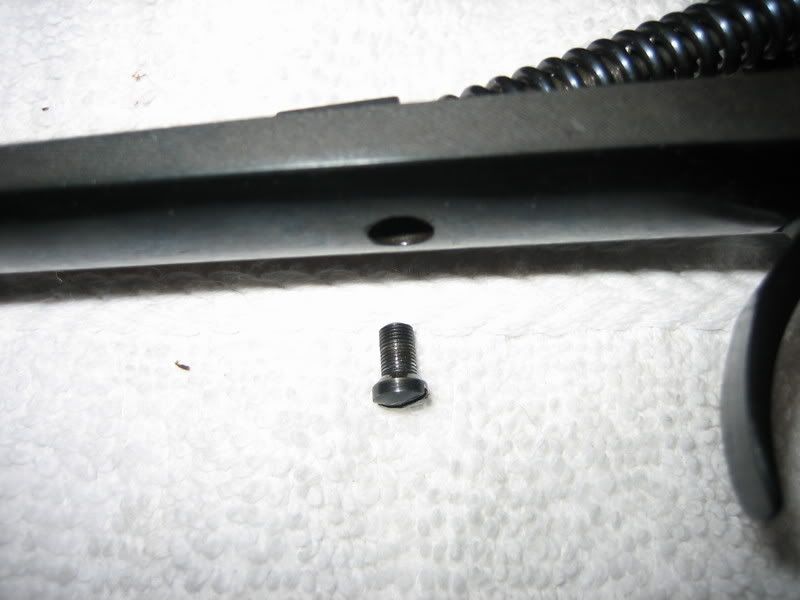
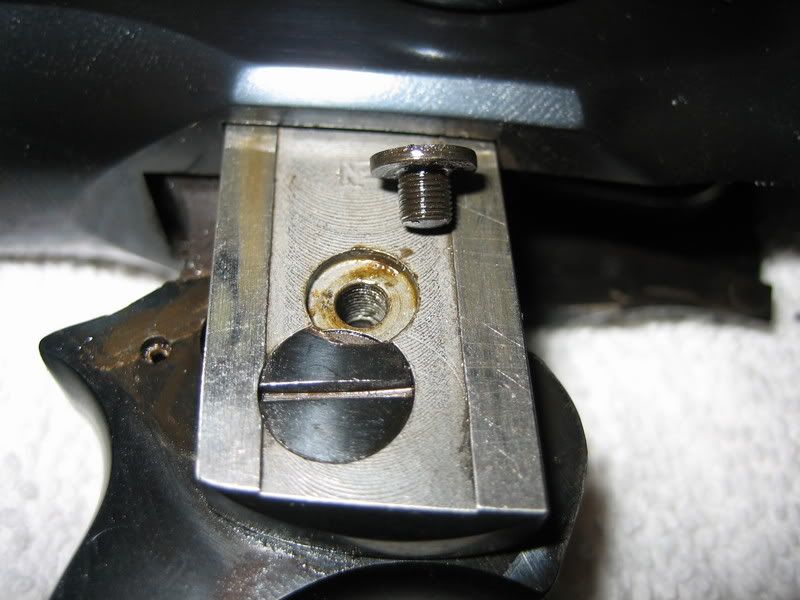
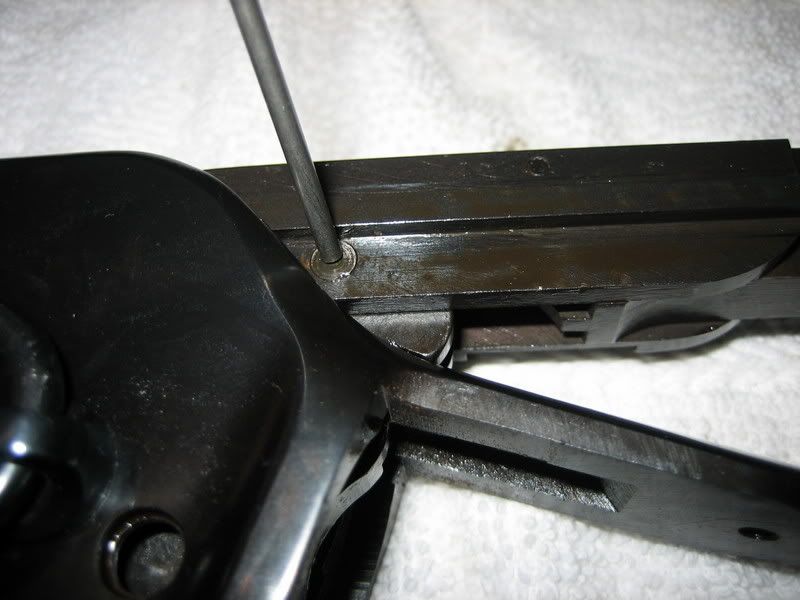
Remove the small screw on the bottom tang that holds the block that holds the bottom of the main spring in place #70228 This will free the mainspring assembly.
Remove the receiver/hammer screw #70155 and slide the lower tang to the rear, remove hammer and parts at the same time.
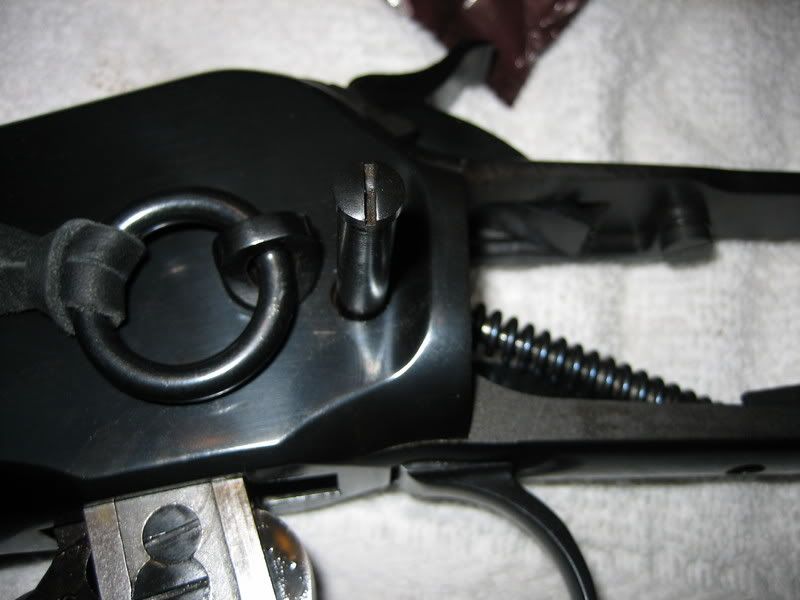
Remove the carrier stop #70038 and screw.
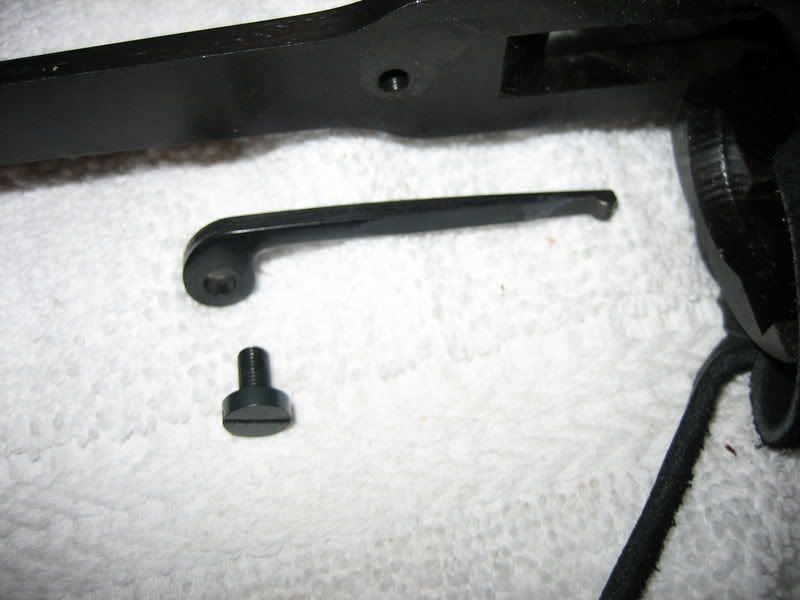
Remove finger lever lock screw and bushing #70172 and #70168
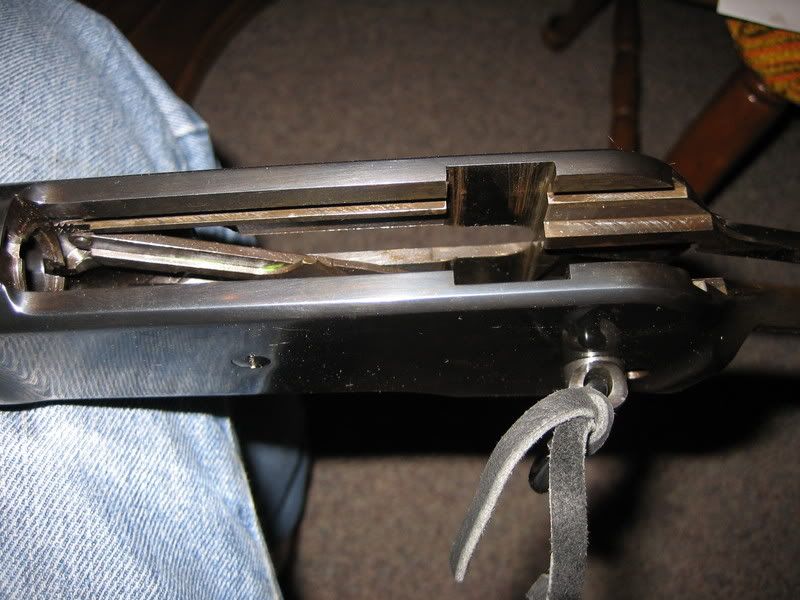
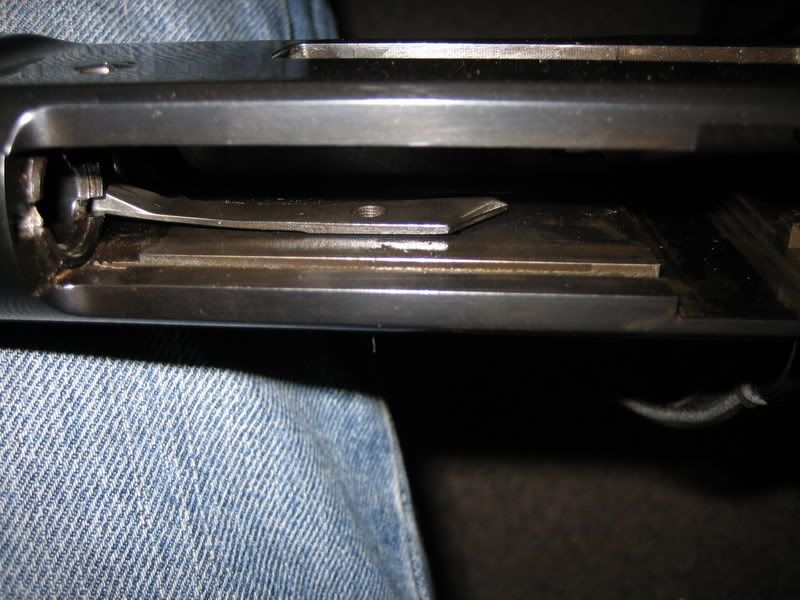
Remove left locking bolt, the right locking bolt can be freed by pushing the right cartridge guide #70048 down and out of the way.
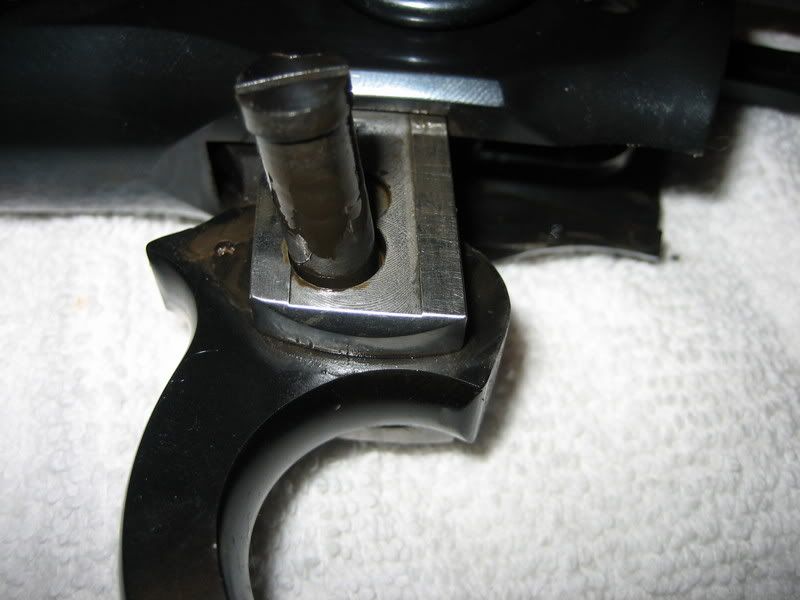
Lower the finger lever and back the breach block/bolt toward the rear to expose the lever breach block pin #70084 Remove pin left to right using a punch.
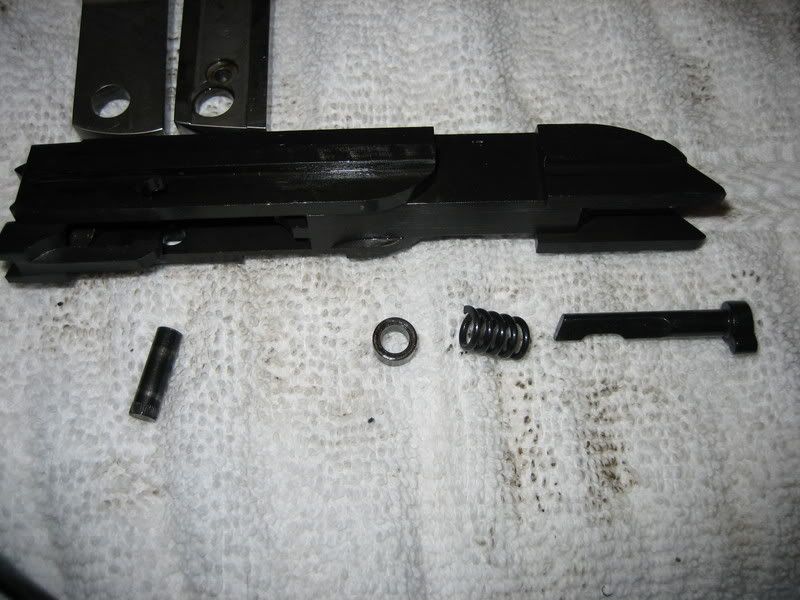
Remove breachblock assembly to the rear and watch out for the ejector, spring and cup, they will fall out.
Also pay close attention to the interlocked parts of the finger lever, carrier #70032 and carrier hook #70035 They will fall out too!
I did not remove the cartridge stop #70056 on the left side of the receiver or the right cartridge guide #70048 I did not see any reason to remove these, it is just two screws if you must.
Well that is the EASY PART!
If your going to tune your 1886 up this would be the time to do it following the link above.
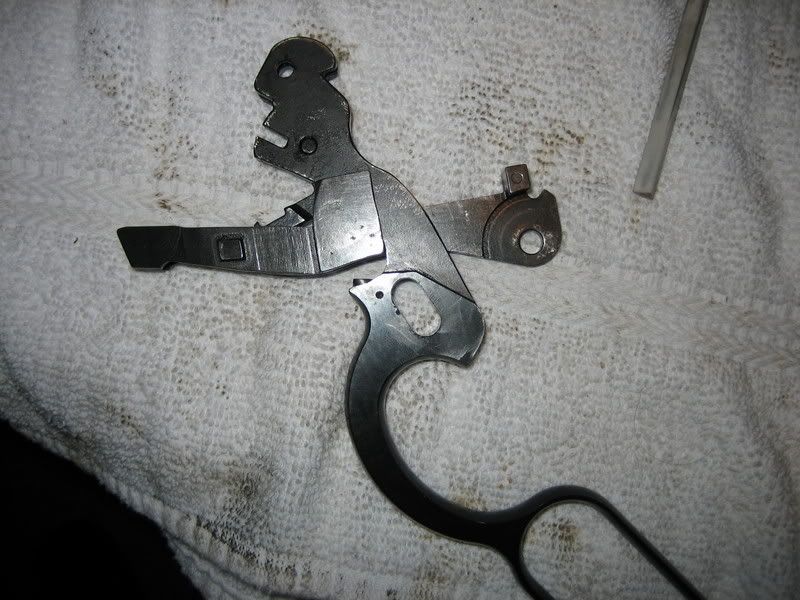
Some notes as far as the tune up goes. The only spring I modified was the hammer spring, I removed approximately 1.5 coils is all. In addition I polished the sear and adjusted the sear notch height on the hammer to get rid of a lot of trigger creep. The trigger on my 1886 was very heavy +6 pounds and creepy, it now brakes clean at 3.5 lbs. I may remove .5 coil more after shooting it a wile.
This is were I say “Reassemble in reverse orderâ€
